It’s Dirt Adventure week in our EcoVenture box from Experience Early Learning. Playing in our dirt box is one of my kids’ favorite activities and when we can take dirt and turn it into a science experiment- even better!
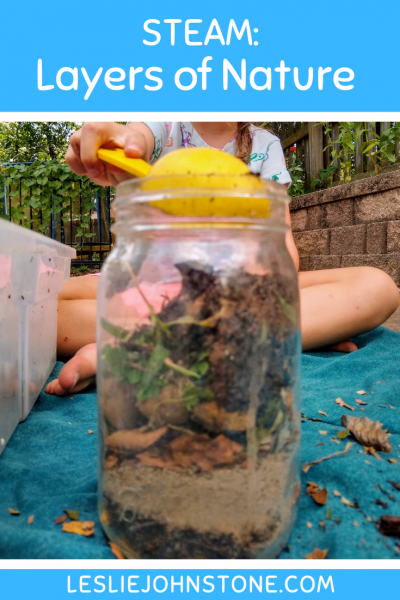
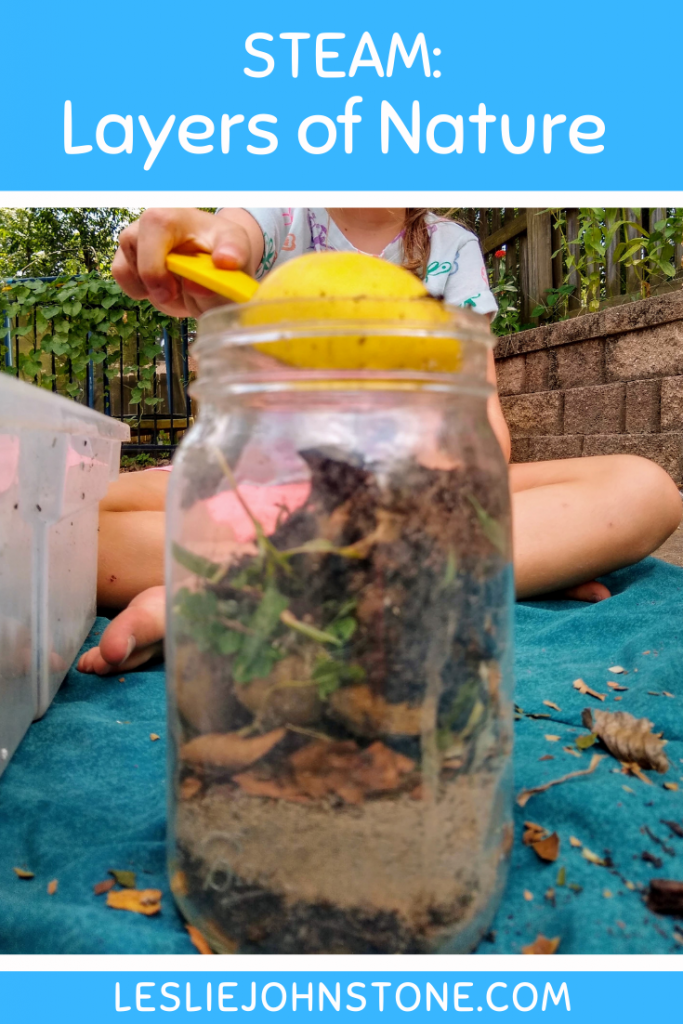
My teacher guide suggested a STEAM Activity called Layers of Nature. Instead of putting it in a bin, I added some mason jars so my kids could see their layers and put them on our nature table.
Set Up
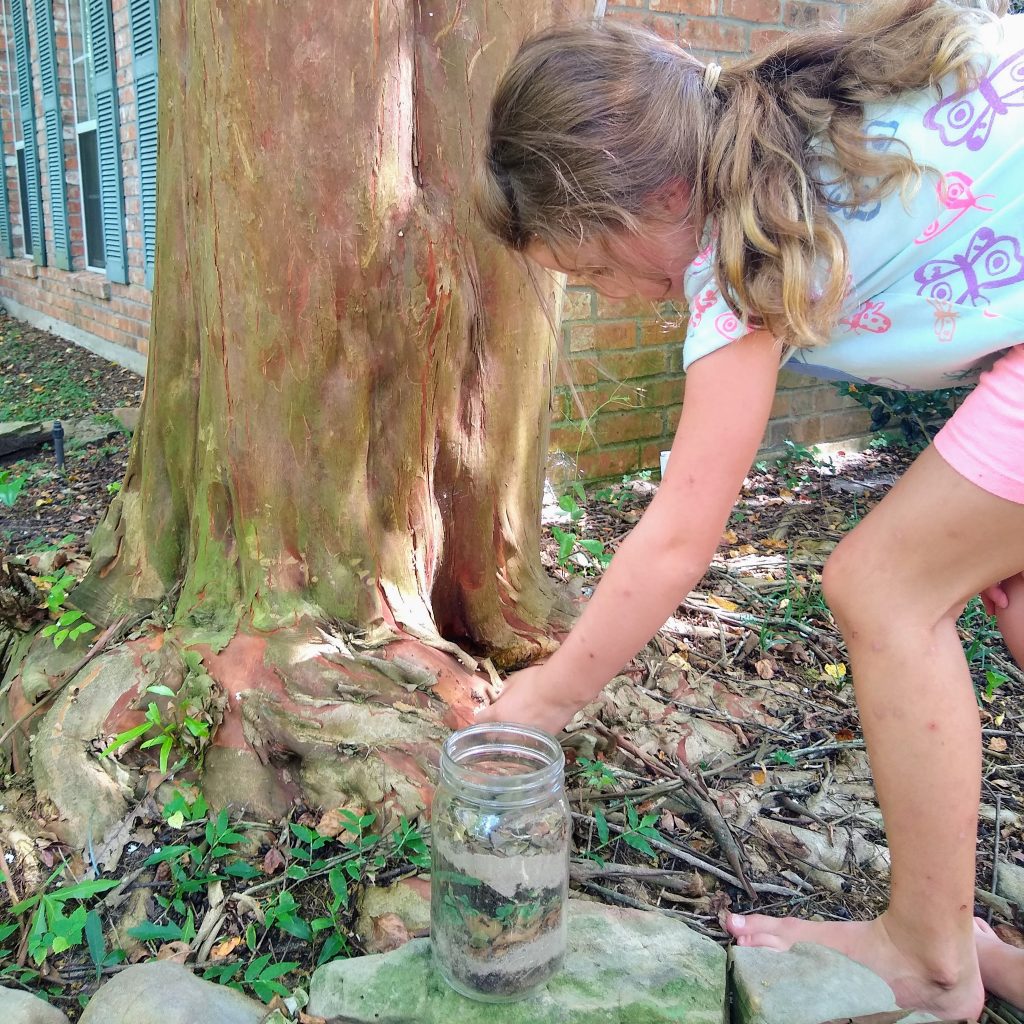
Go outside. Set out a shallow bin that the kids can see through (glass or plastic) and some hand shovels or cups. Encourage the children to look around and call out nature items that they see. Have them explore creating different layers inside their bin.
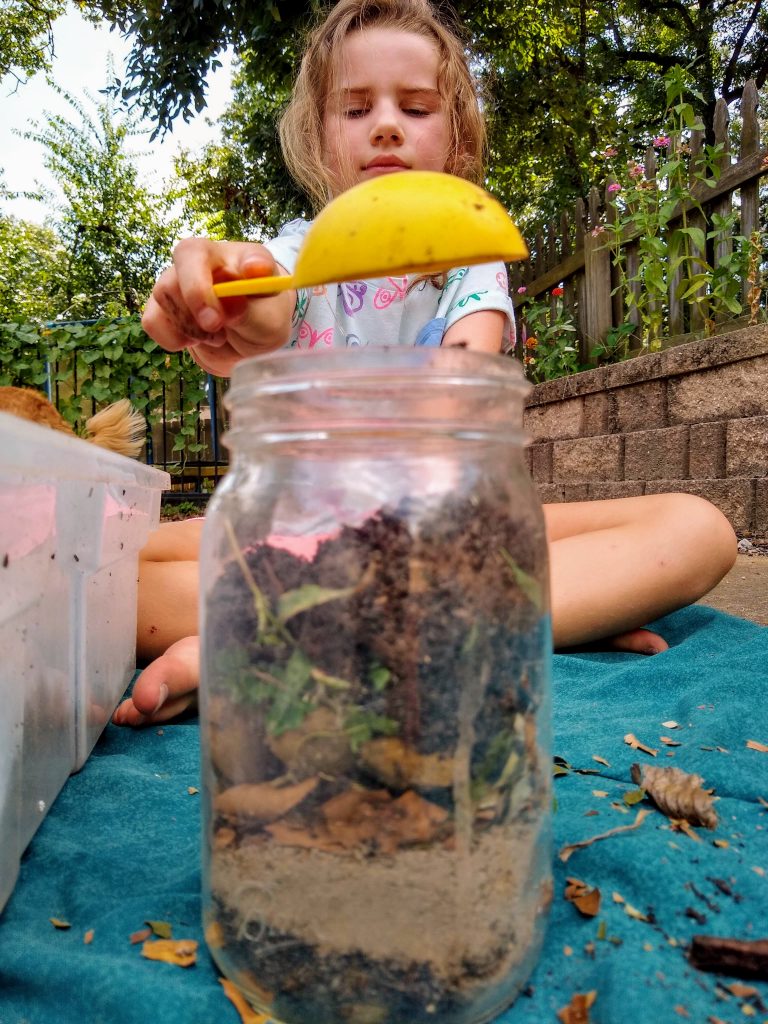
This could be done as a group activity with one large plastic bin, but we chose to do it as an individual activity by letting them each have a large mason jar. I did carry my 3 year old’s jar around so it wouldn’t break, but if you had a childcare center, you might just choose to do a large class bin.
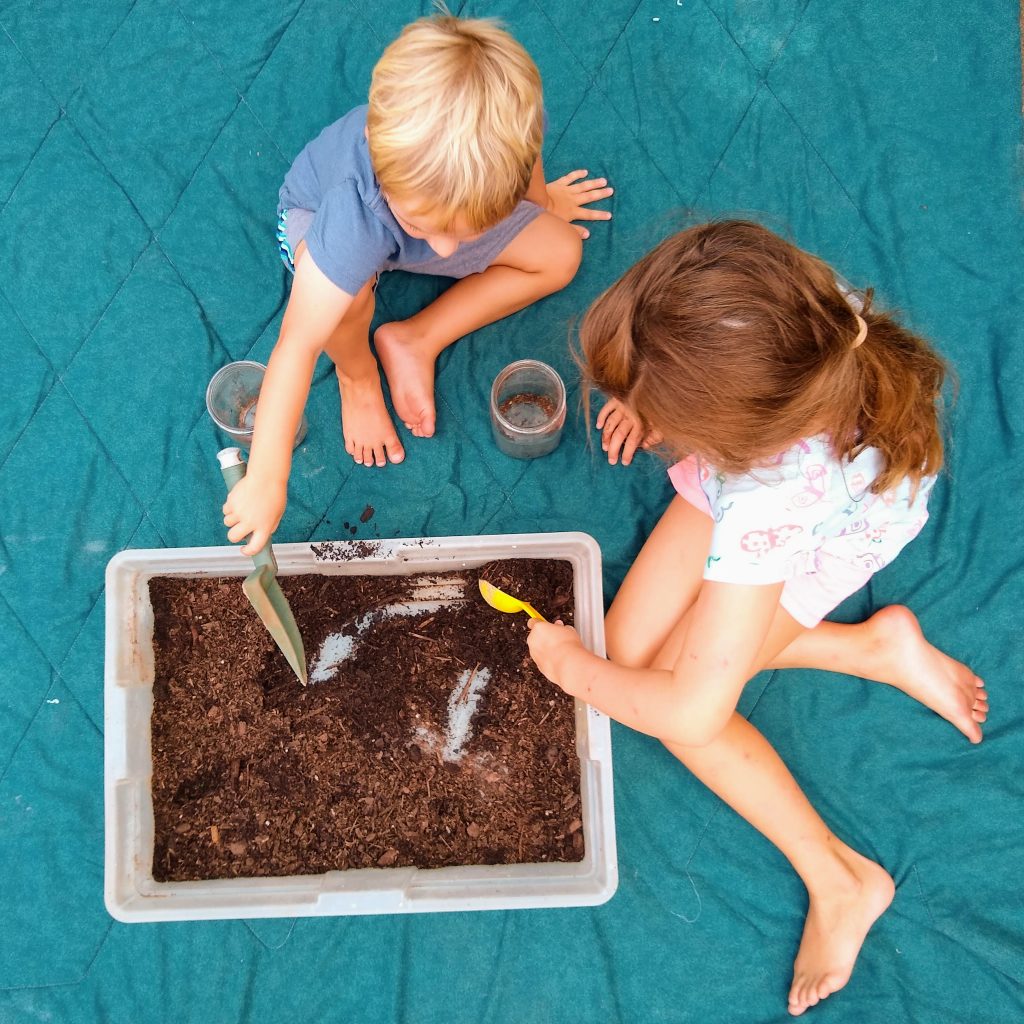
All I provided was a bin of potting soil from them to dig into which they made their bottom layer. I asked them to look around and tell me what nature items they could fit into their jars. Here were just some of their responses:
- Dirt
- Black Walnuts
- Bark
- Rocks
- Sticks
- Leaves
- Zinnias
- Grass
- Clover
Big Questions
Then I asked some of the big questions from my teacher guide to help them think through their creations. It’s always better to ask children questions to help them think rather than telling them what to do.
- “How can you create layers in your jar?”
- What will go on the bottom? The top?
- How many layers can you make?
- Do you want to repeat your layers can create a pattern?
The kids were quick to get to work!
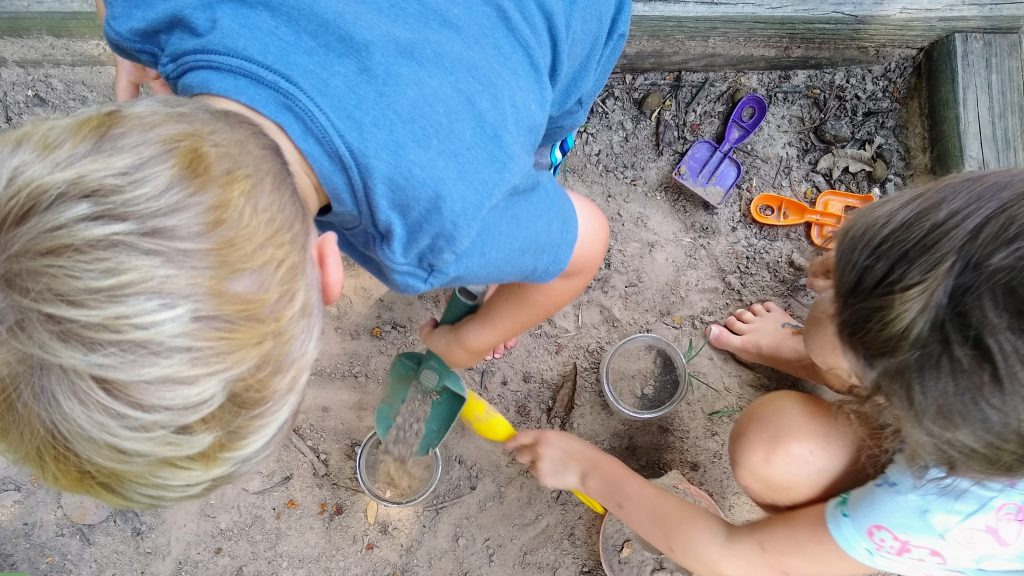
First they put in the potting soil then sand from the dirt box. The contrast of light and dark made the layers more visible.
Next dried leaves were crunched into small pieces and placed in the jar. Fine motor skills exercised right here my friends. Then my children gathered the small black walnuts that constantly rain down in our backyard and added them into their jars.
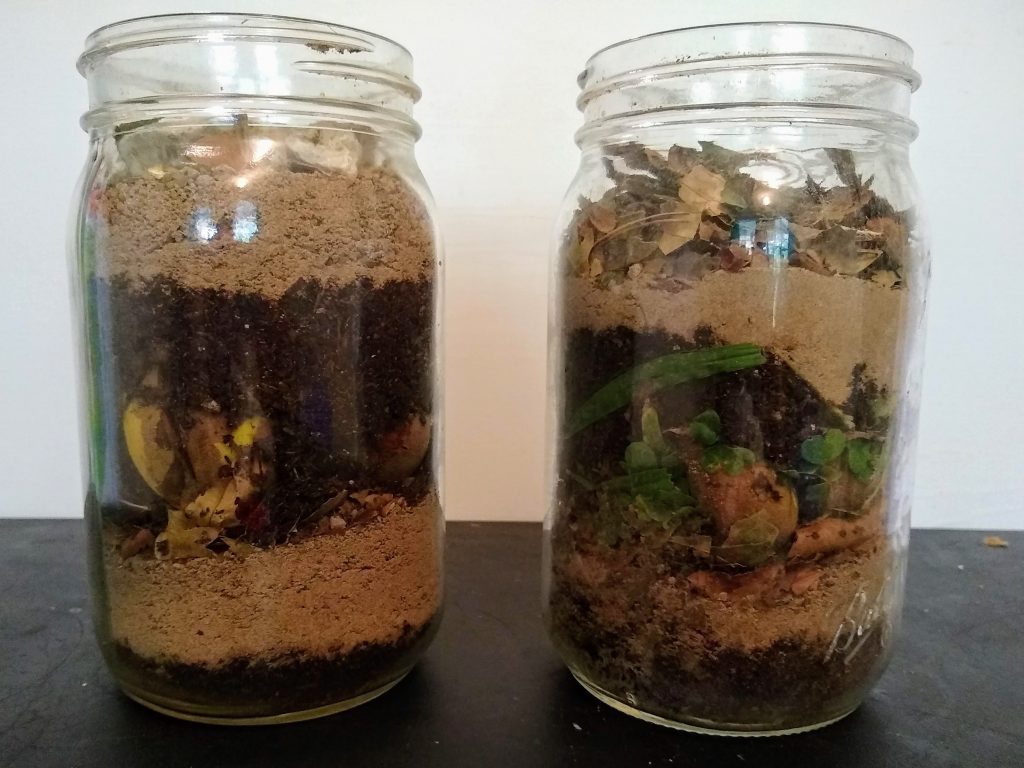
After that my daughter chose to add some green clover as a layer, but my son decided to repeat the potting soil and start a pattern. After her clover, my 7 year old continued with her pattern of layers but instead of black walnuts she decided to use the peeling bark from our crepe myrtles to the top of her jar.
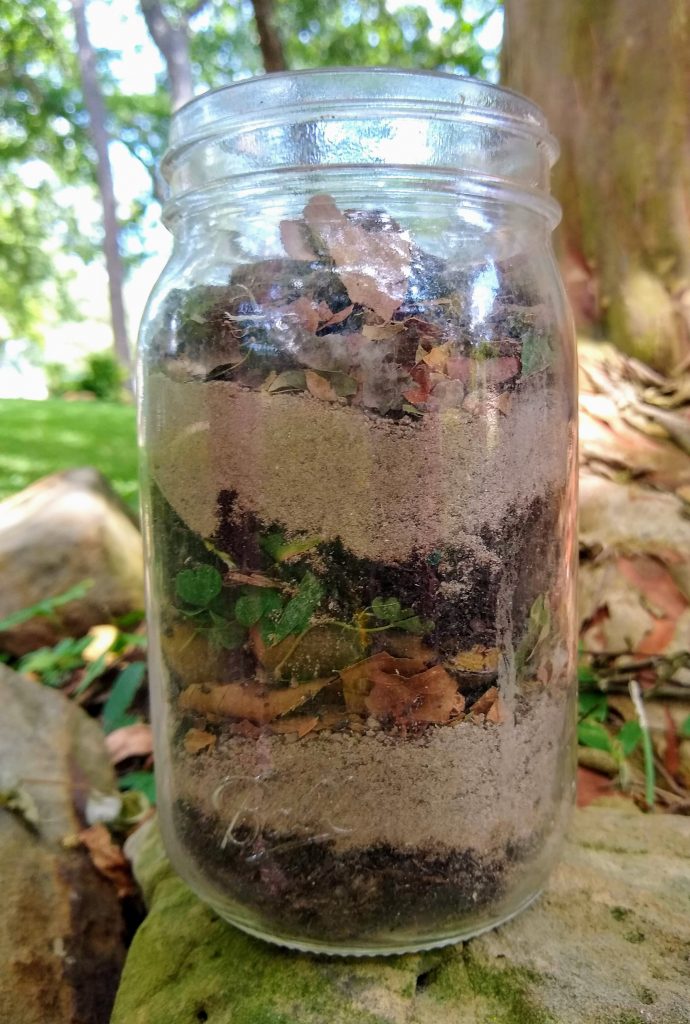
At the end of the activity, I asked them how many layers did they create. My son counted 7 while my daughter counted 8. These jars are sitting on our nature table so they can see them everyday. I need to have them draw it in their nature journals today and have my 7 year old label hers.
Future Experiments?
This activity made me wonder…. will this become like a compost jar? Will we see the breakdown of the grass in my daughter’s jar? Is there enough green material to produce enough nitrogen to make compost?
So now I am over here researching composting jars, thankful that our little box from Experience Early Learning inspires not only my children but also me to learn new things!
Happy Learning yall!
