Each month we focus on a new theme with our Experience Preschool box, and this month is all about Cozy Winter senses… the the ones you smell, see, and taste straight out of the kitchen. You know what I am talking about…. COOKIES.
There is nothing like the smells that waft from the kitchen during all the holiday baking this time of year. One of my favorite smells is cookies baking in the oven, but when your oven is on the fritz (we ordered one 4 months ago) and baking is just not an option, try these delightful “cookie” creations!
STEAM: Playdough Cookies
Experience Early Learning had a recipe for Spiced Playdough in the STEAM section of my teacher guide:
- 1 cup of flour
- 1/2 cup of salt
- 2 tsp. cream of tartar
- 2 tbsp. of oil
- 1 cup of cold water
- Food coloring (we used red gel food coloring)
- Spices (we used apple pie spice)
Mix together all the ingredients except for the spices and cook the mixture over medium heat on the stovetop until it comes together. Cool it on some parchment paper for about 10 minutes. After the dough cools, add the spices onto the dough, kneading it together. Now it’s perfect to make “cookies.”
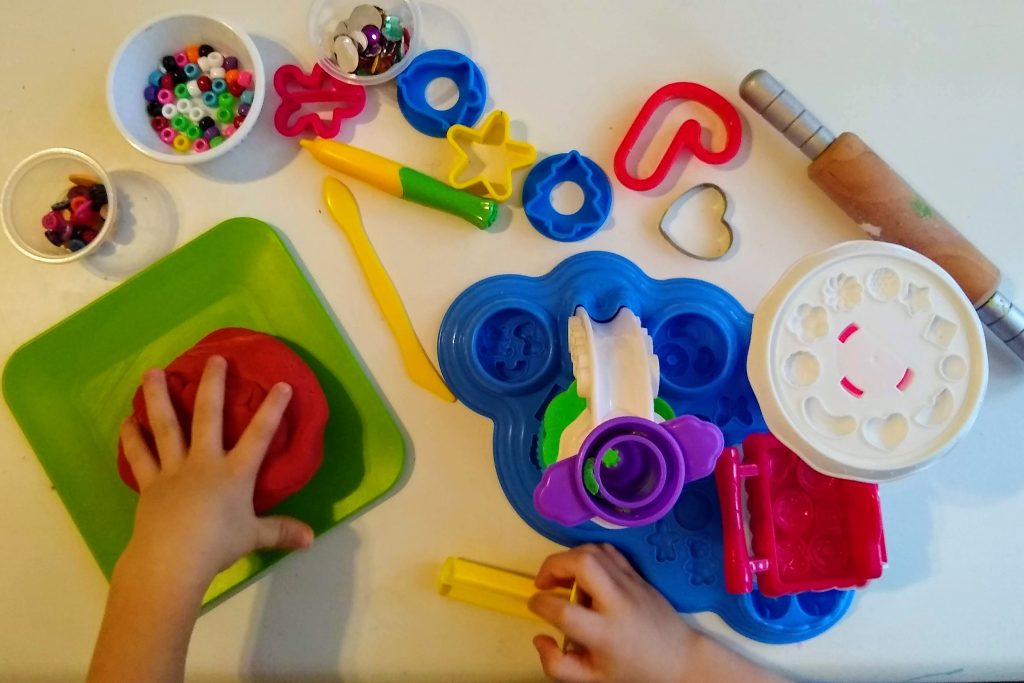
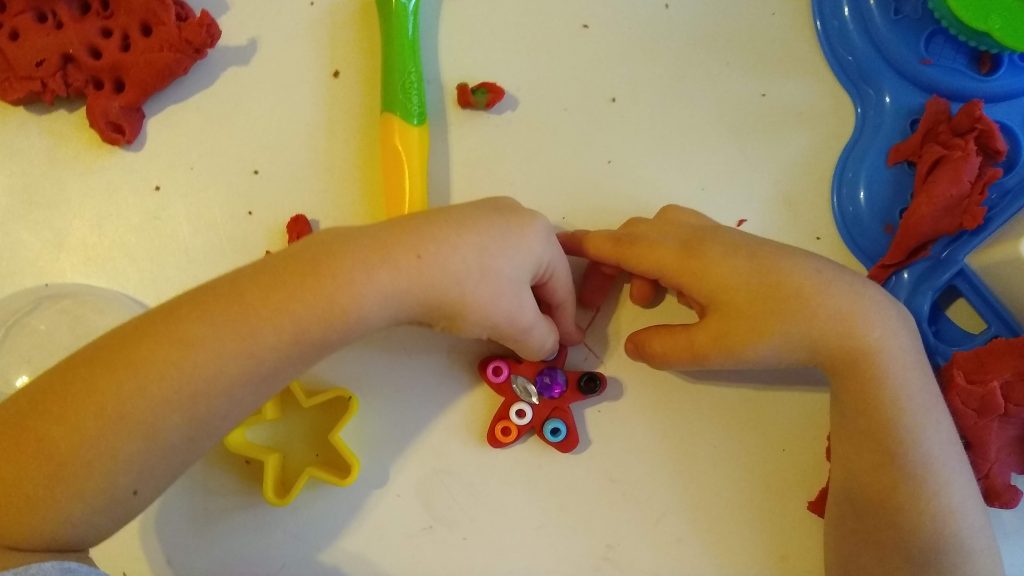
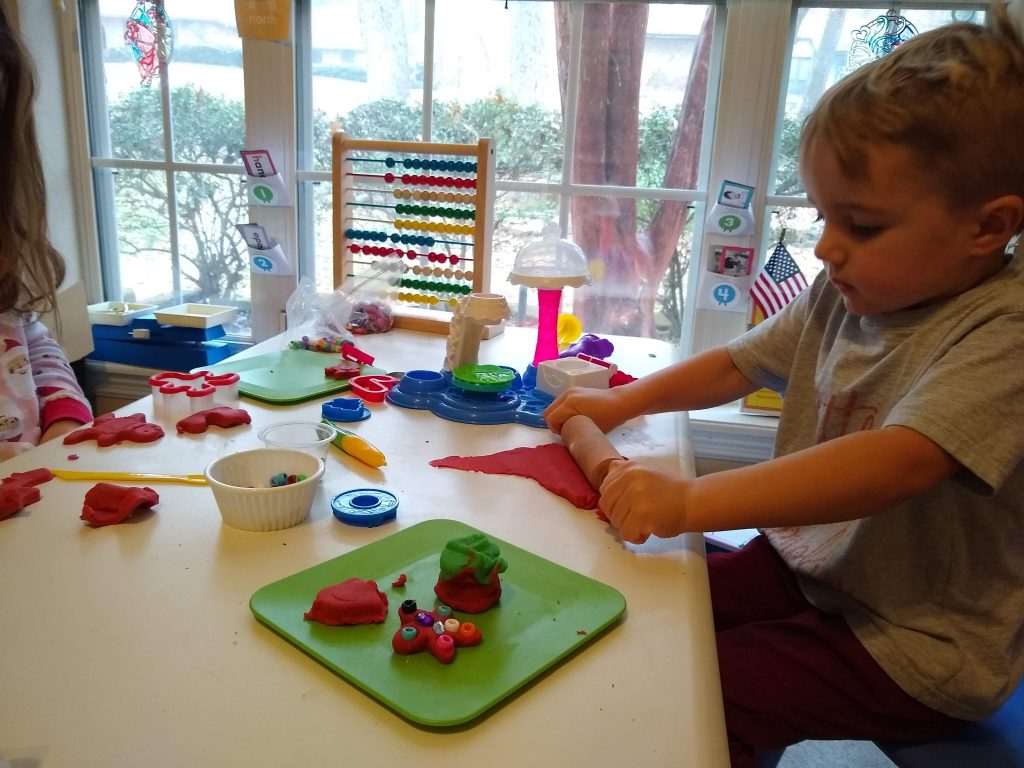
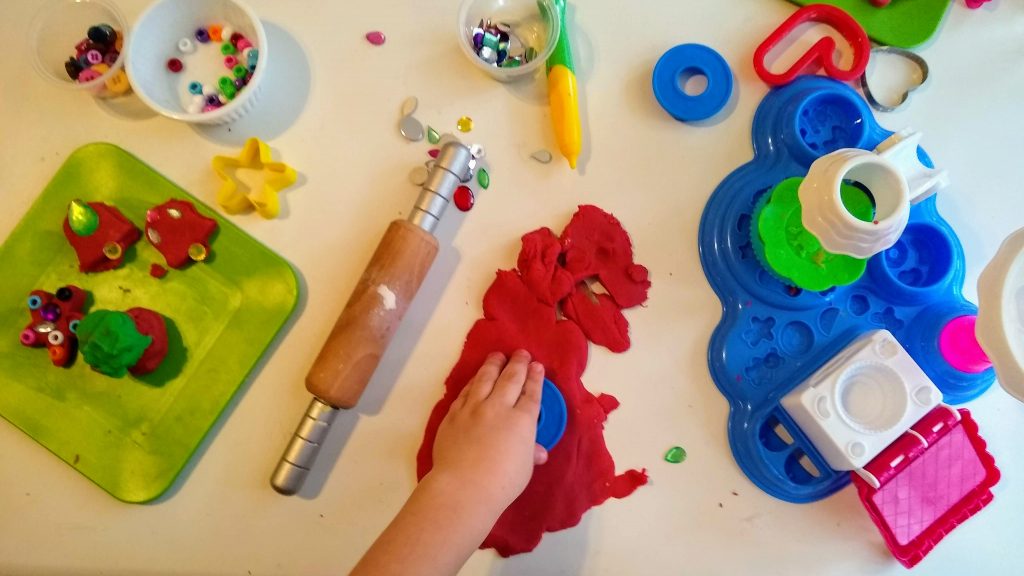
I pulled out our Play-doh Kitchen Cake Party set to help the kids start their creations. (this one is a better deal right now) I added some beads, sequins, and jewels to their table area and they had a blast creating cookies.
You might not be able to eat these cookies, but you sure can smell them and they smell delightful! They kept remarking about how good the playdough smelled and how they wanted to eat it, lol! I told them it would taste terrible with all that salt. Sure enough, my son took a small bite, but because I knew all the ingredients that were in it, I wasn’t worried in the slightest like I might be with the playdough I can buy from the store. Trust me…. he won’t be eating these cookies again.
My 7 year old daughter wasn’t feeling well and slept in, but when she awoke and saw that we were making playdough cookies, she did not hesitate to jump into the creative cookie process. Check out these scrumptious plates of cookies!
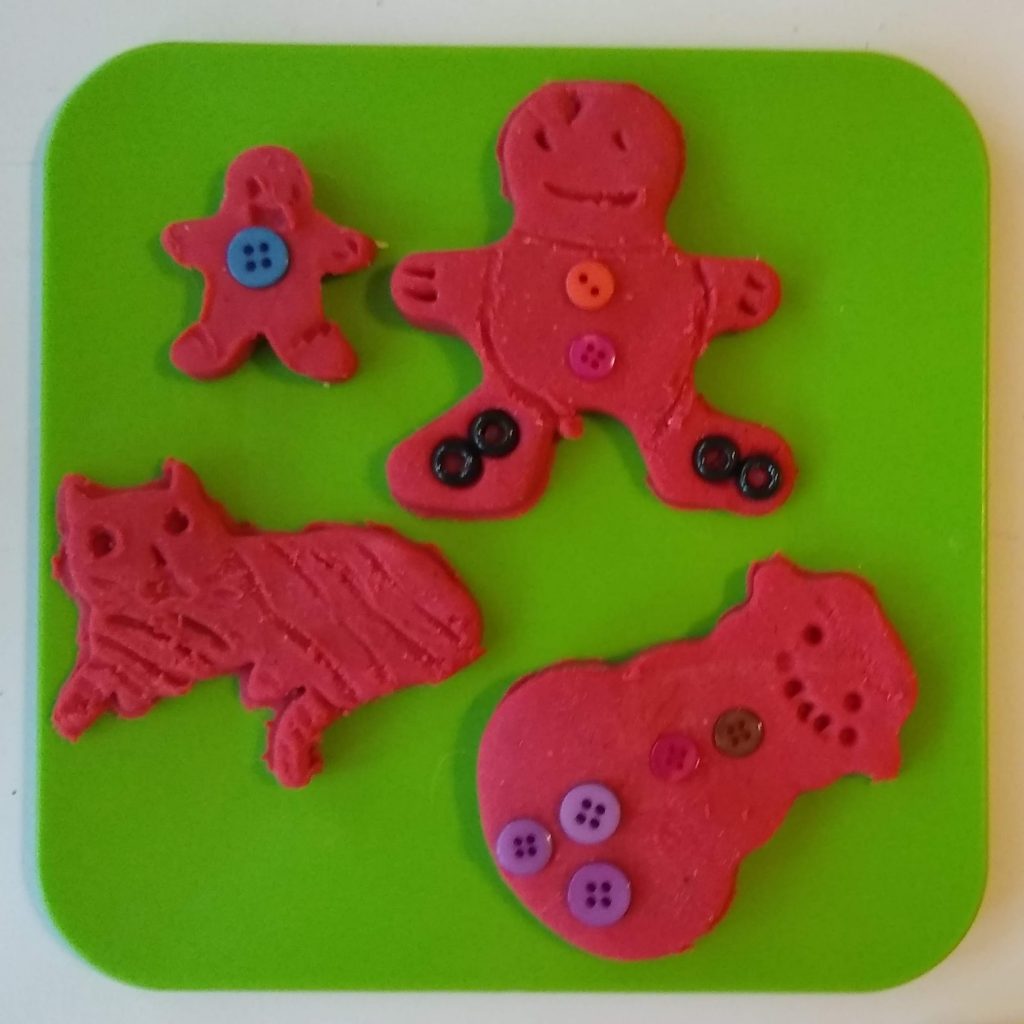
7 year old cookies 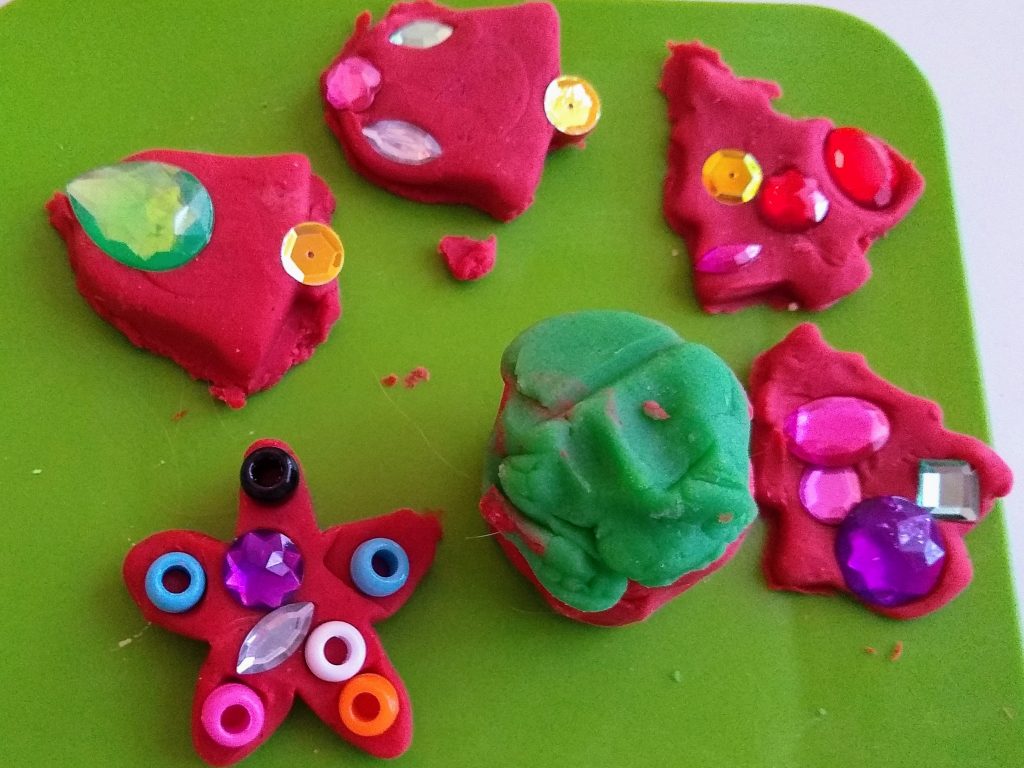
4 year old cookies, and cake with green frosting
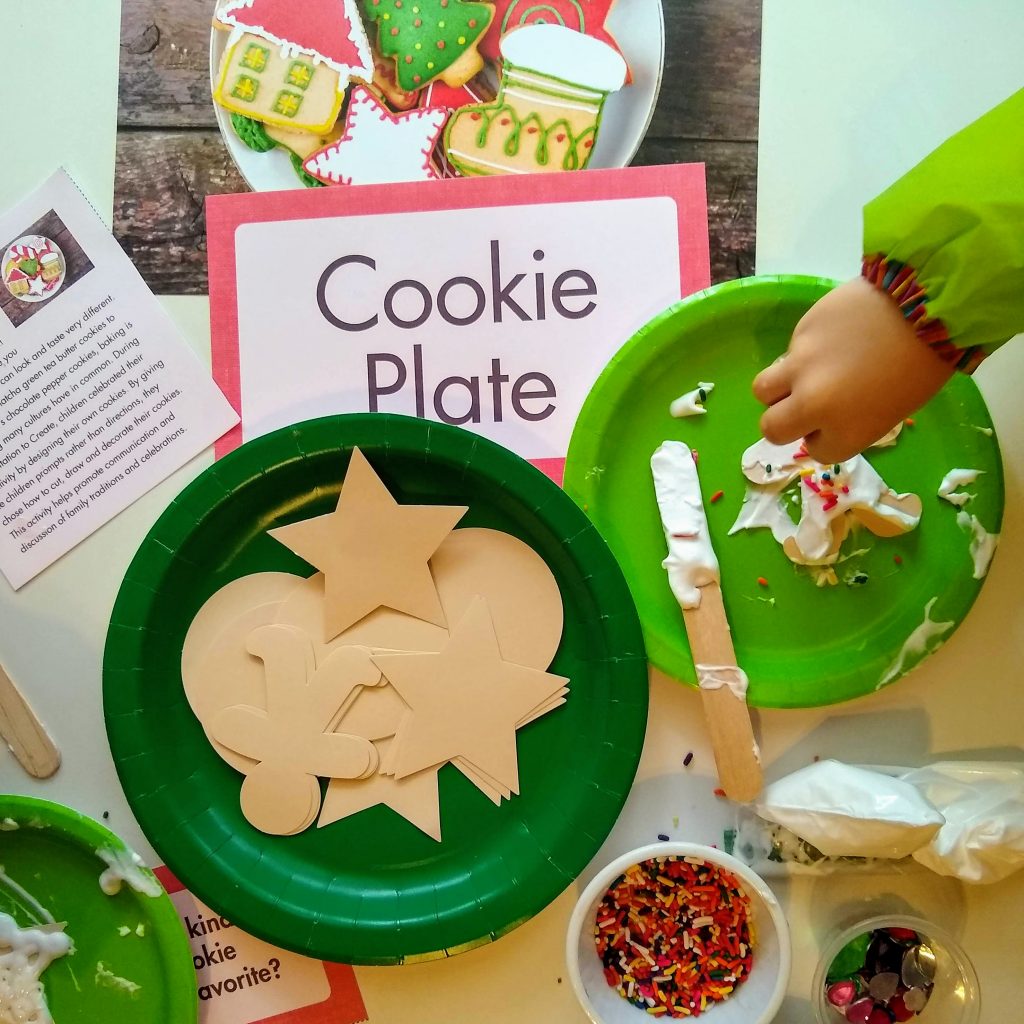
Creative Corner: Cookies!
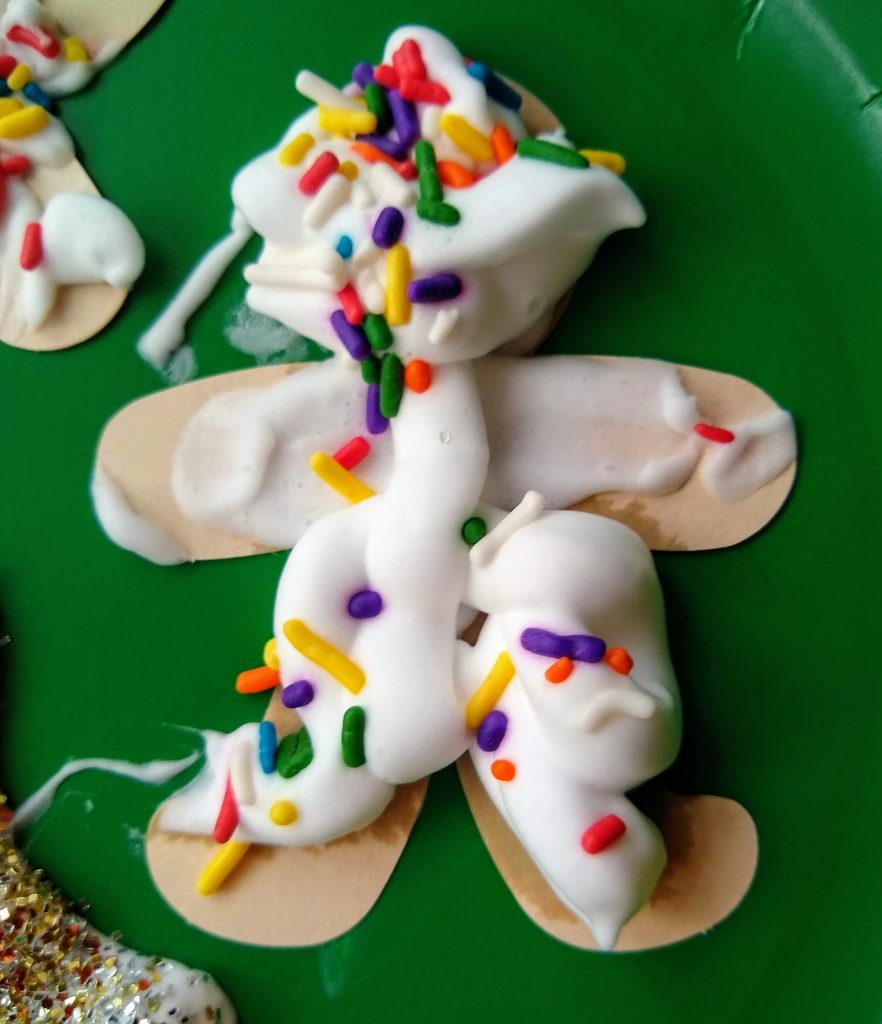
I loved this activity from our Experience Early Learning Cookie Day! Experience Preschool sent us the cookie cardstock cutouts (3 different kinds) and sprinkles. All I needed to add was shaving cream, glue, and some zip lock bags.
Mix equal parts glue and shaving cream in a zip lock bag, zip it shut, and mix that shaving cream and glue together. Then snip the corner like an icing bag. You now have puffy glue also known as frosting.
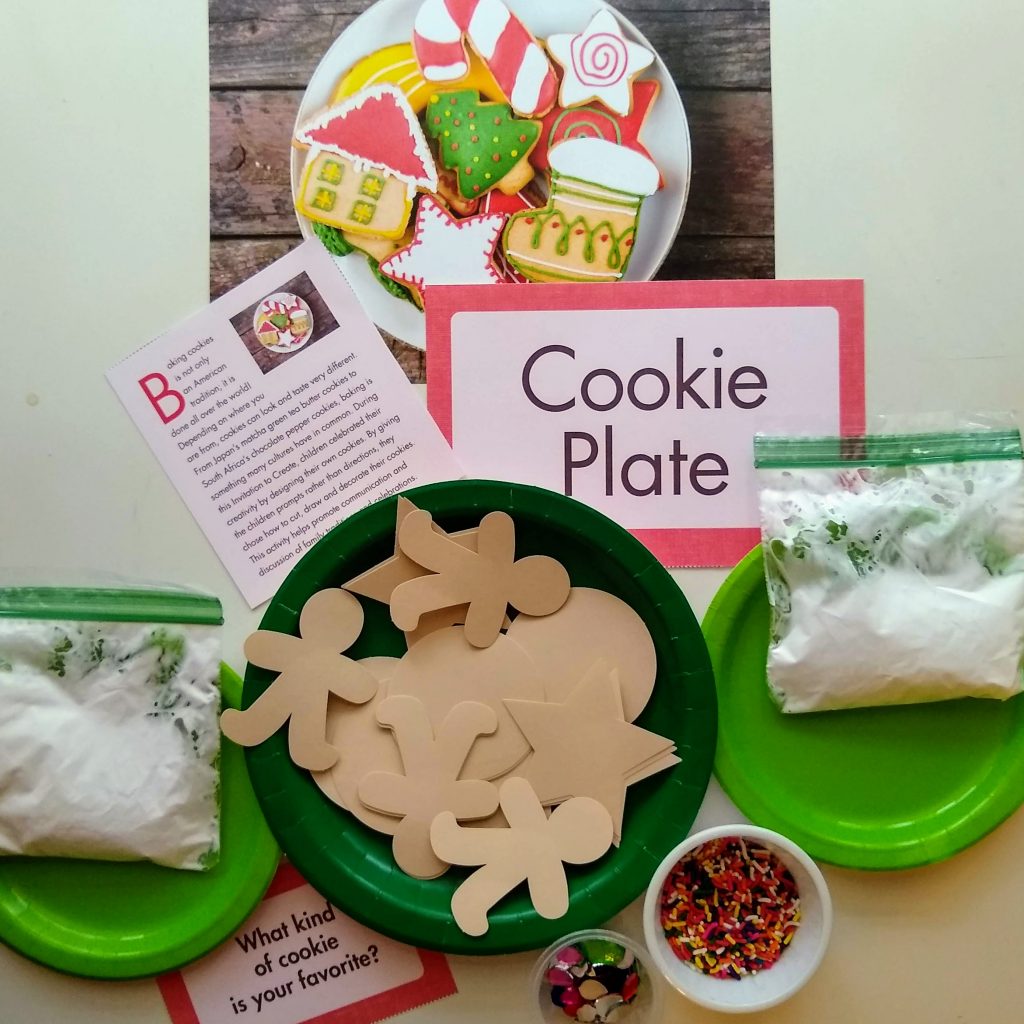
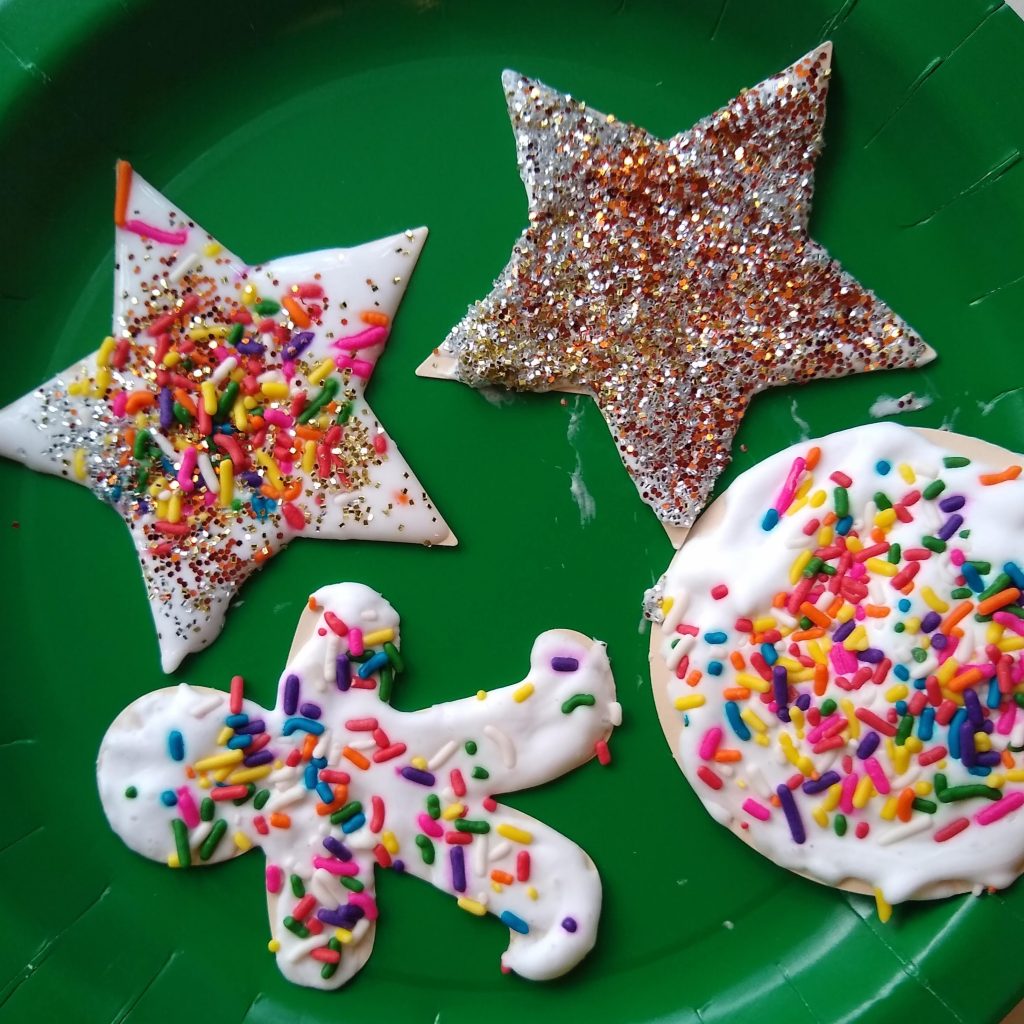
The kids were completely inspired by the photo and didn’t waste any time creating their cookies. We decided to add some more glitter “sprinkles” because seriously, is it even the holidays if there’s no sparkle?
Yum Yum 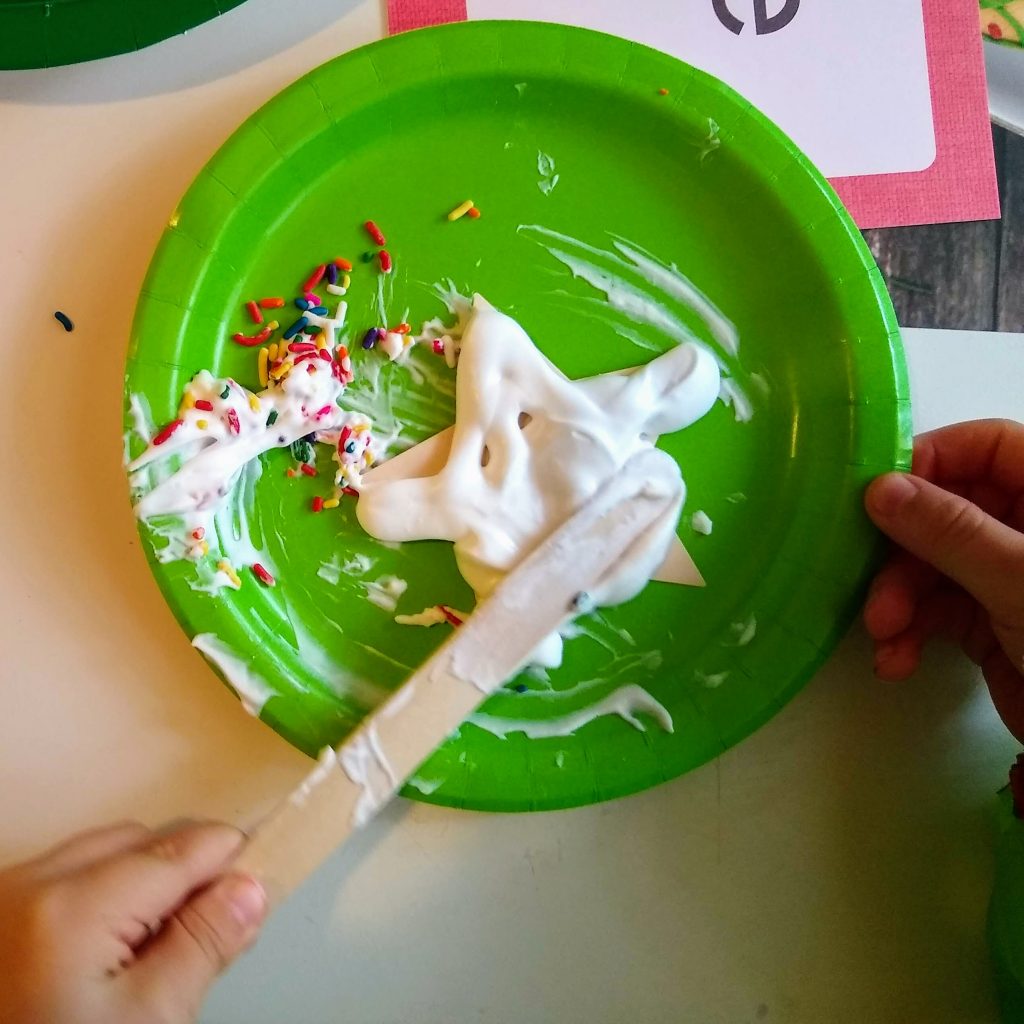
spread that frosting with a popsicle stick 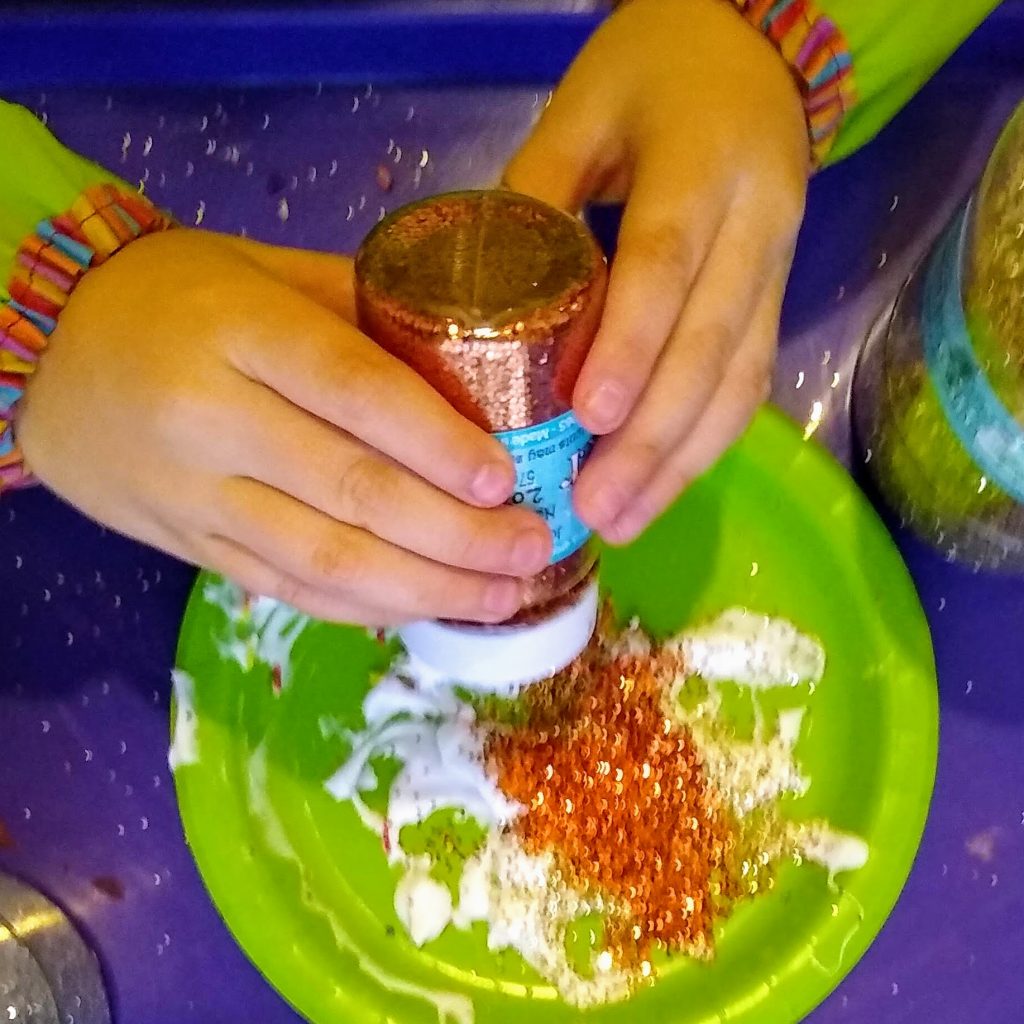
glitter sprinkles 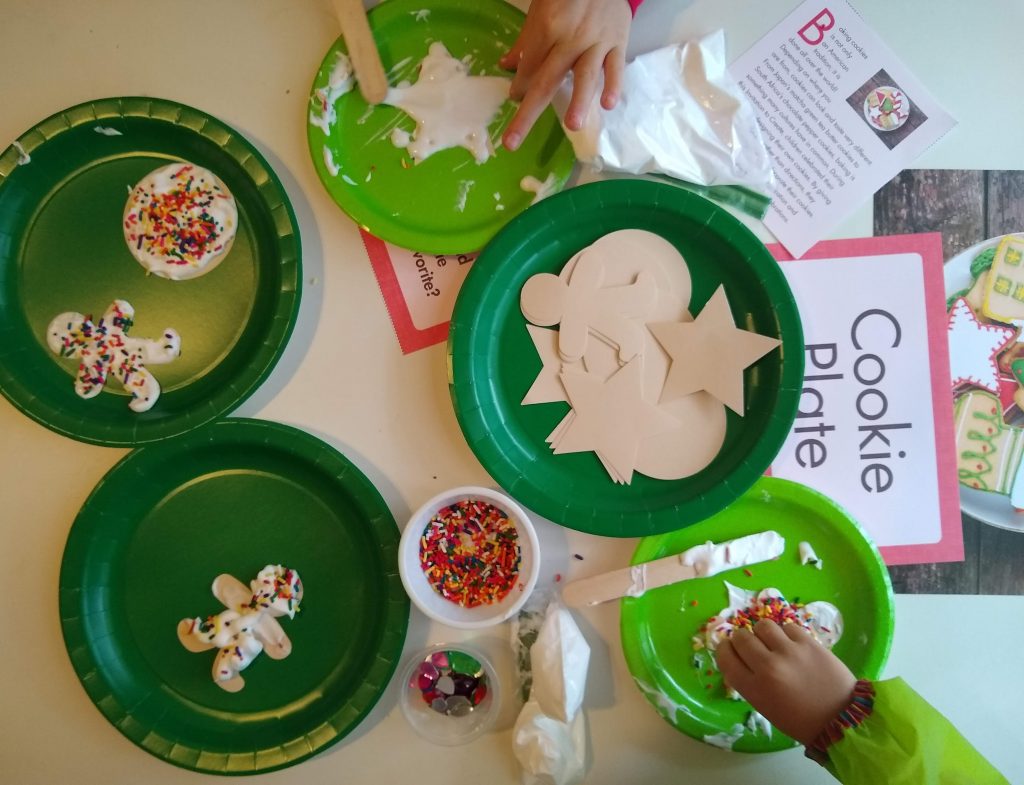
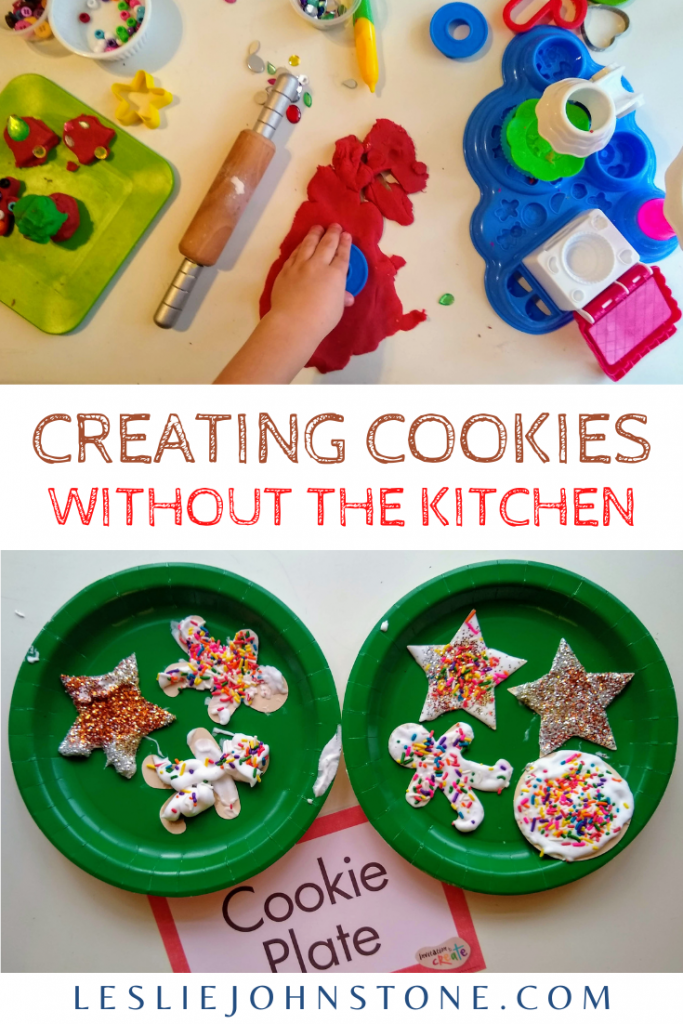
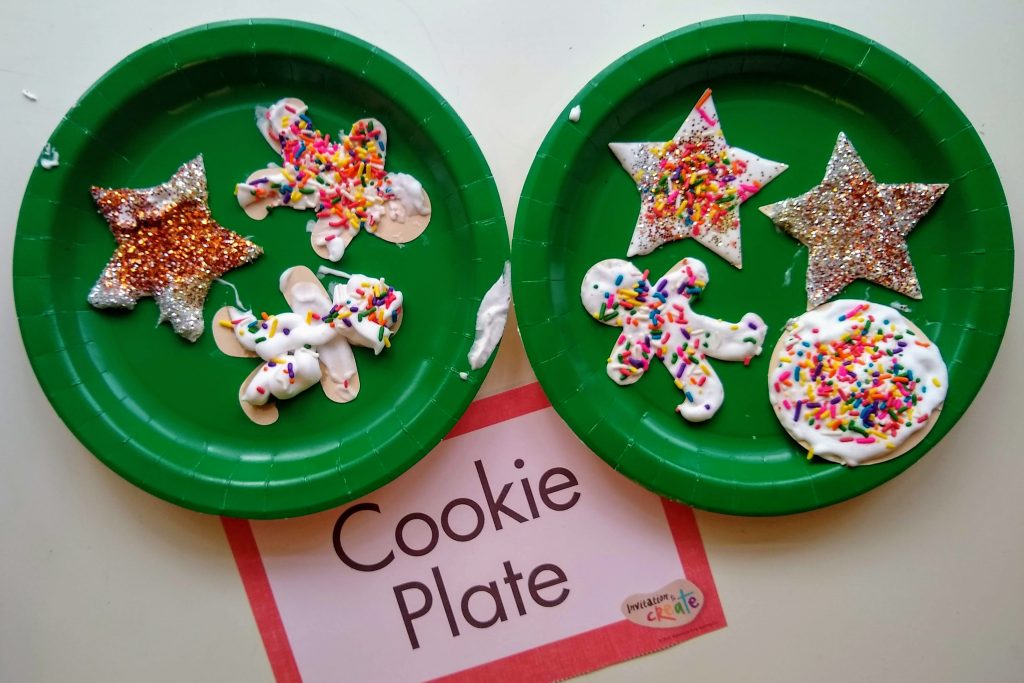
Use paper plates for them to create on and place finished cookies
Much like a real cookie plate, this plate is not going to last long. The glue frosting puffed up which was awesome, but it never seemed dry and stable. Even after 24 hours of creating them. This was a blast though, and the kids loved it! What if each kiddo made a bunch of cookies and you did a “cookie exchange?” Oh that would be so fun!
Check out these finished yummy treats…
So what kind of cookies will your little craft today?

How fun!!