
About a month ago our Children’s Ministry hosted a tie-dye party for kids from Kindergarten- 6th grade. It was my first tie-dying experience. I loved watching them create, but I learned a thing or two watching them.
1. Limit the color choices. There were quite a few muddy brown looking shirts because kids got too happy with using ALL the colors.
2. Use the rubber bands and only place dye in a sectioned off area. This will allow the colors to blend and also create a design.
3. Let it dry for as long as possible with the rubber bands still in tact. Then cut them free and see the design.
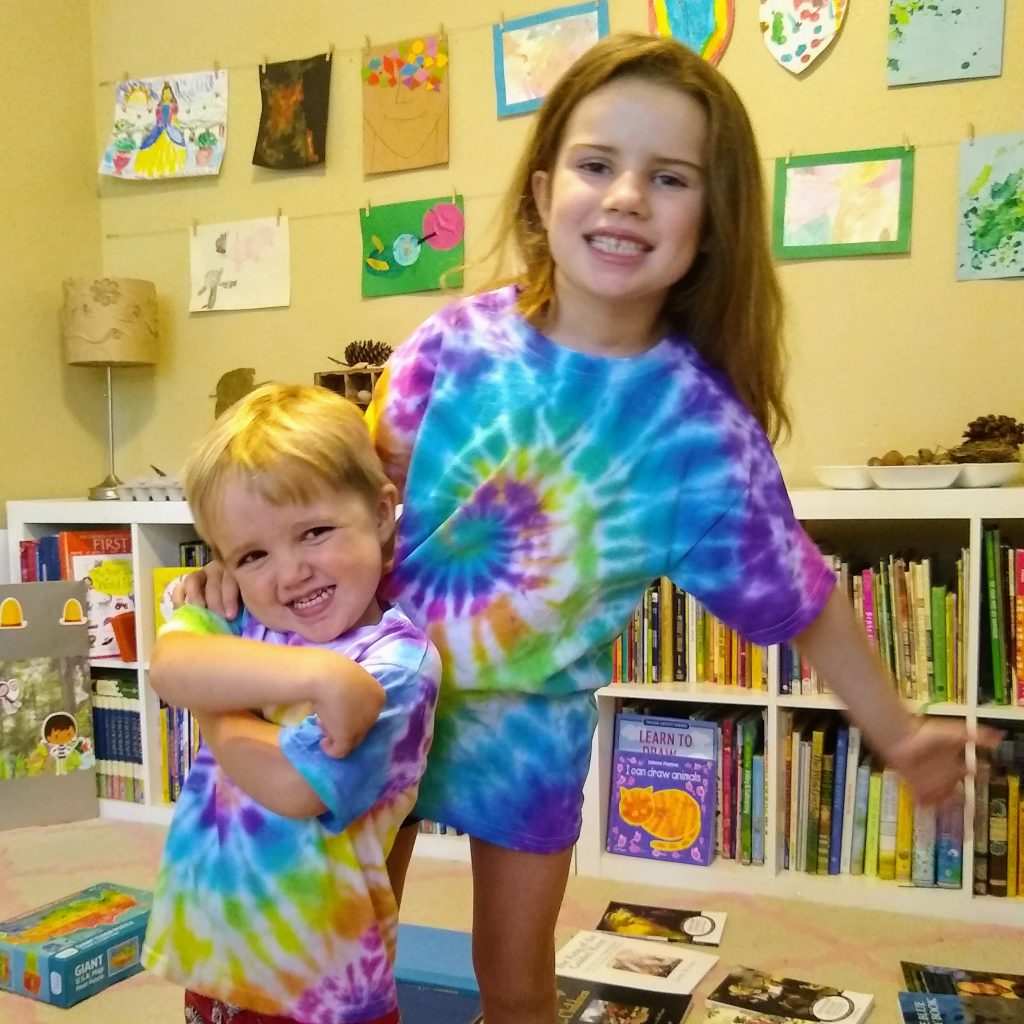
My kids loved making their tie-dye shirts! My son even declared, “I look handsome,” when he put his on. So when I looked at my Teacher Guide for Clothing week in my All About Me box from Experience Early Learning (EEL) and saw that we had a STEAM station all about Tie-dying, I knew I definitely didn’t want to pass up this learning experience!
As an Experience Early Learning (EEL) Blogger, I receive the EEL Preschool Curriculum in exchange for my honest opinions and authentic stories about our experiences using the curriculum. All opinions and thoughts are completely my own.
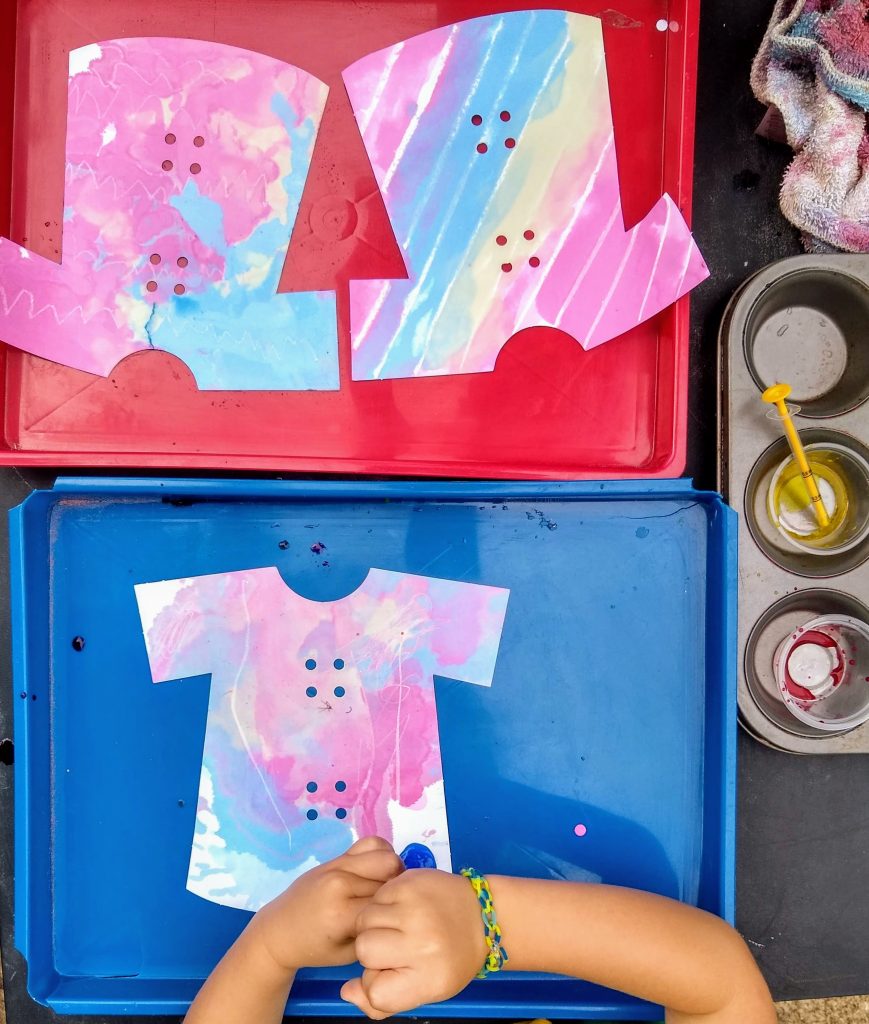
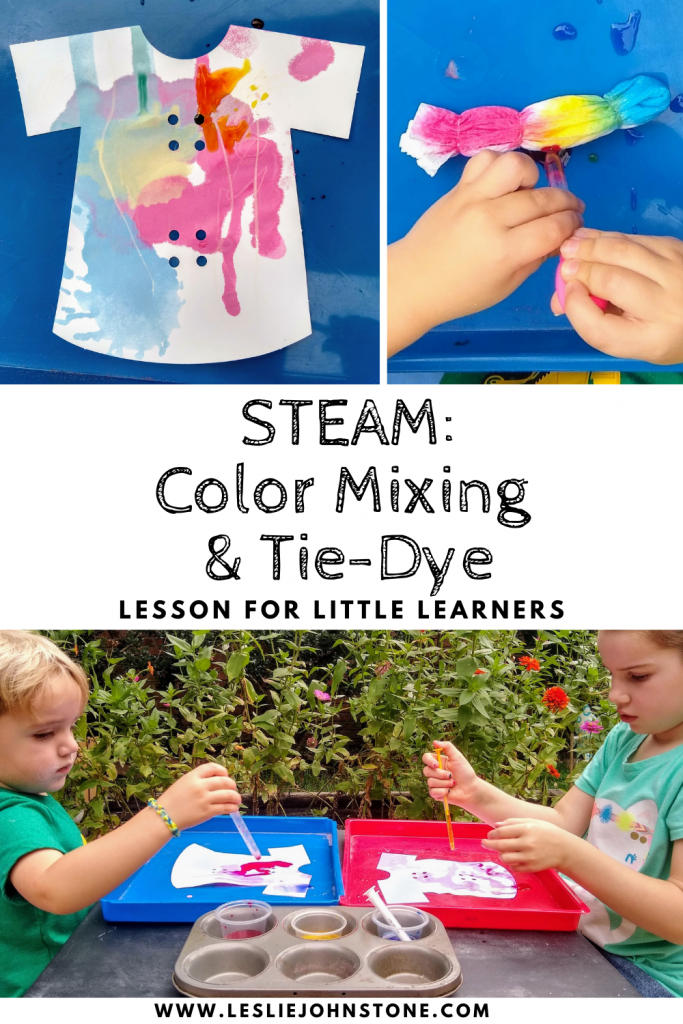
And you know me… we took this STEAM station right outside. You don’t need anything special to do this either. We used Liquid Watercolors so we could have a rich color, but you could totally use food coloring to do this project. Here are the supplies:
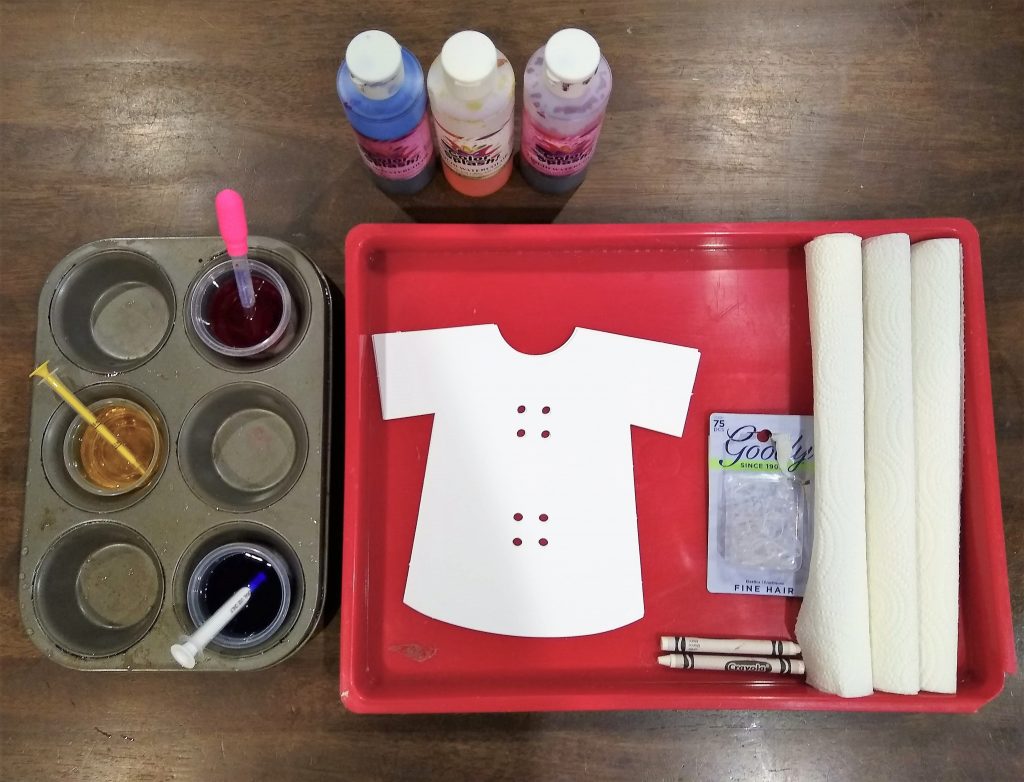
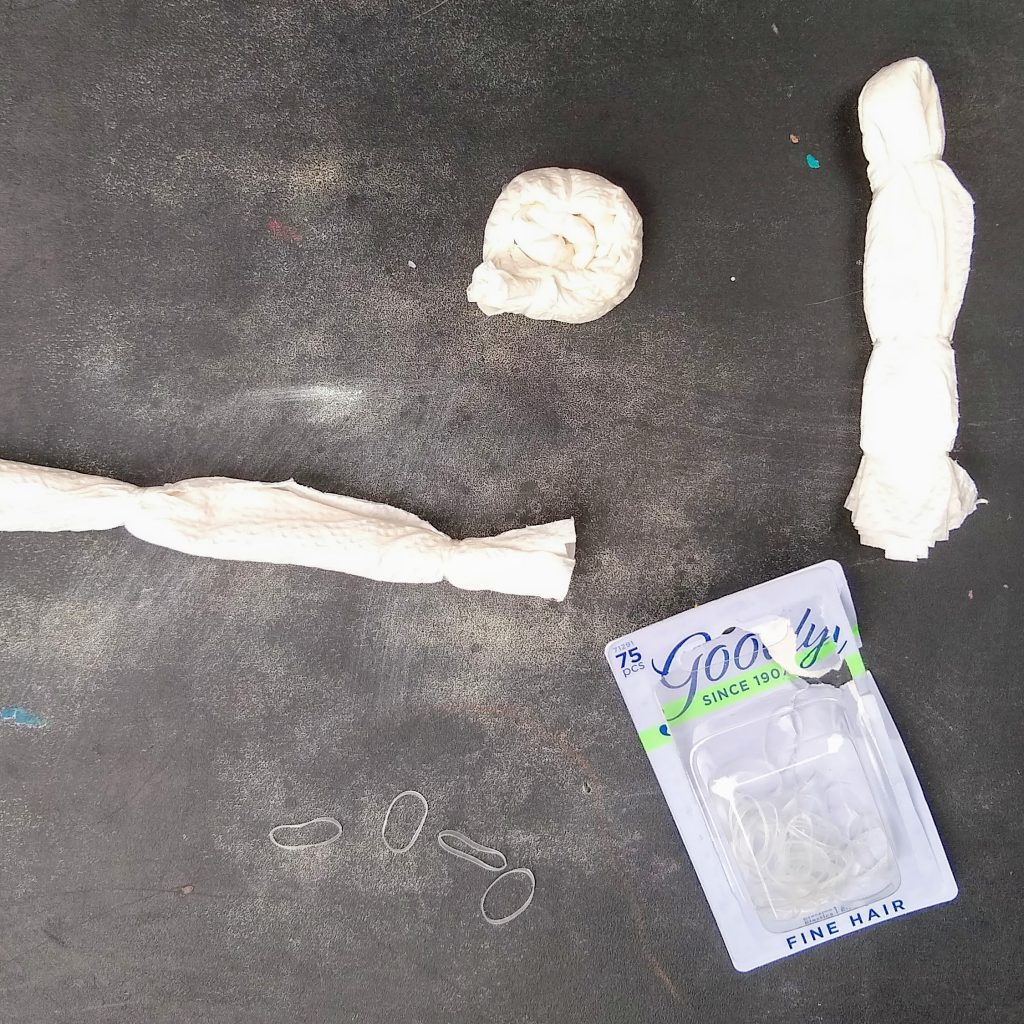
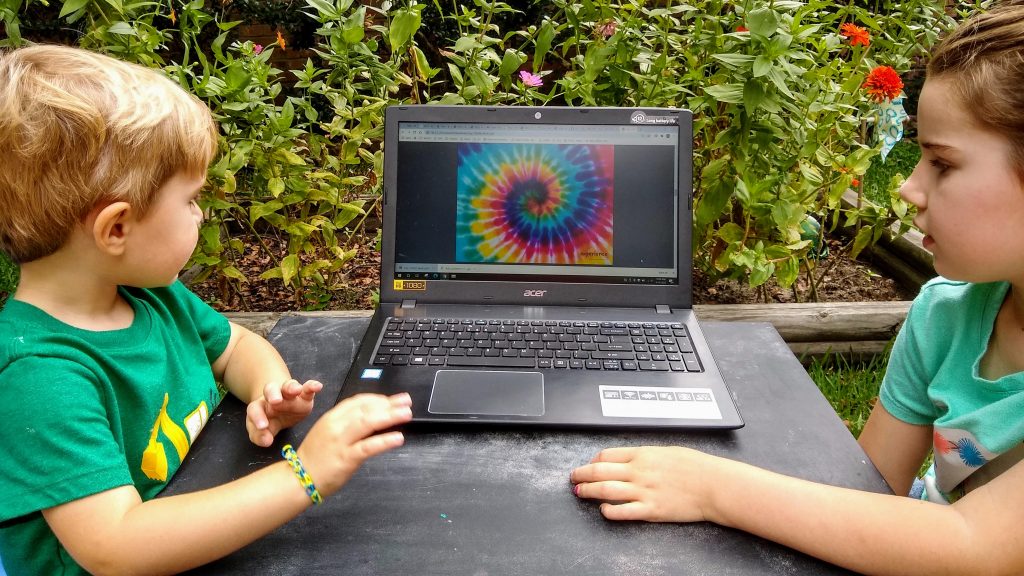
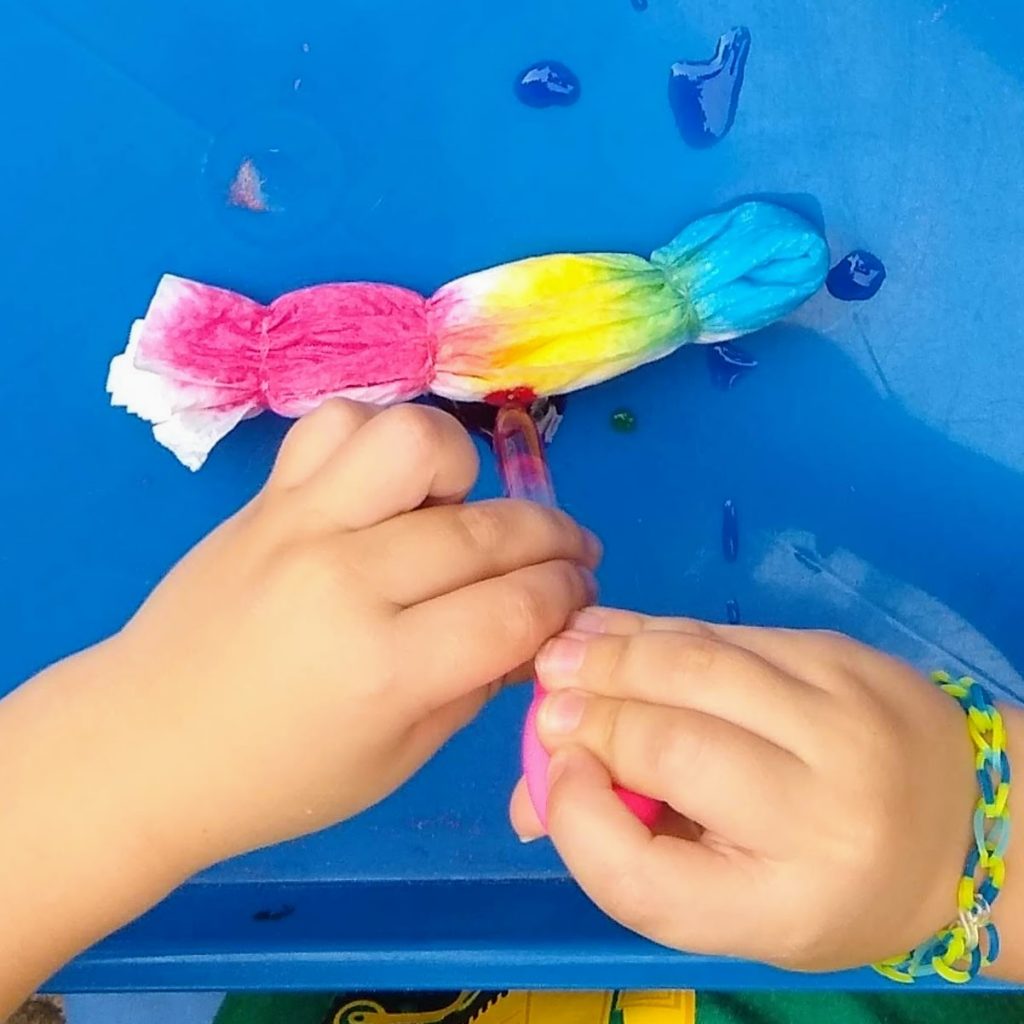
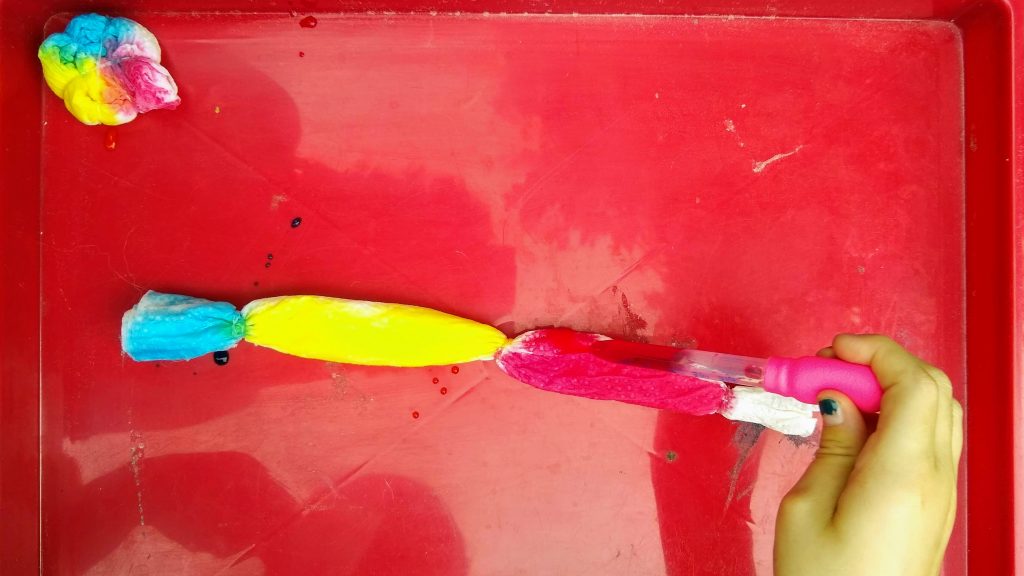
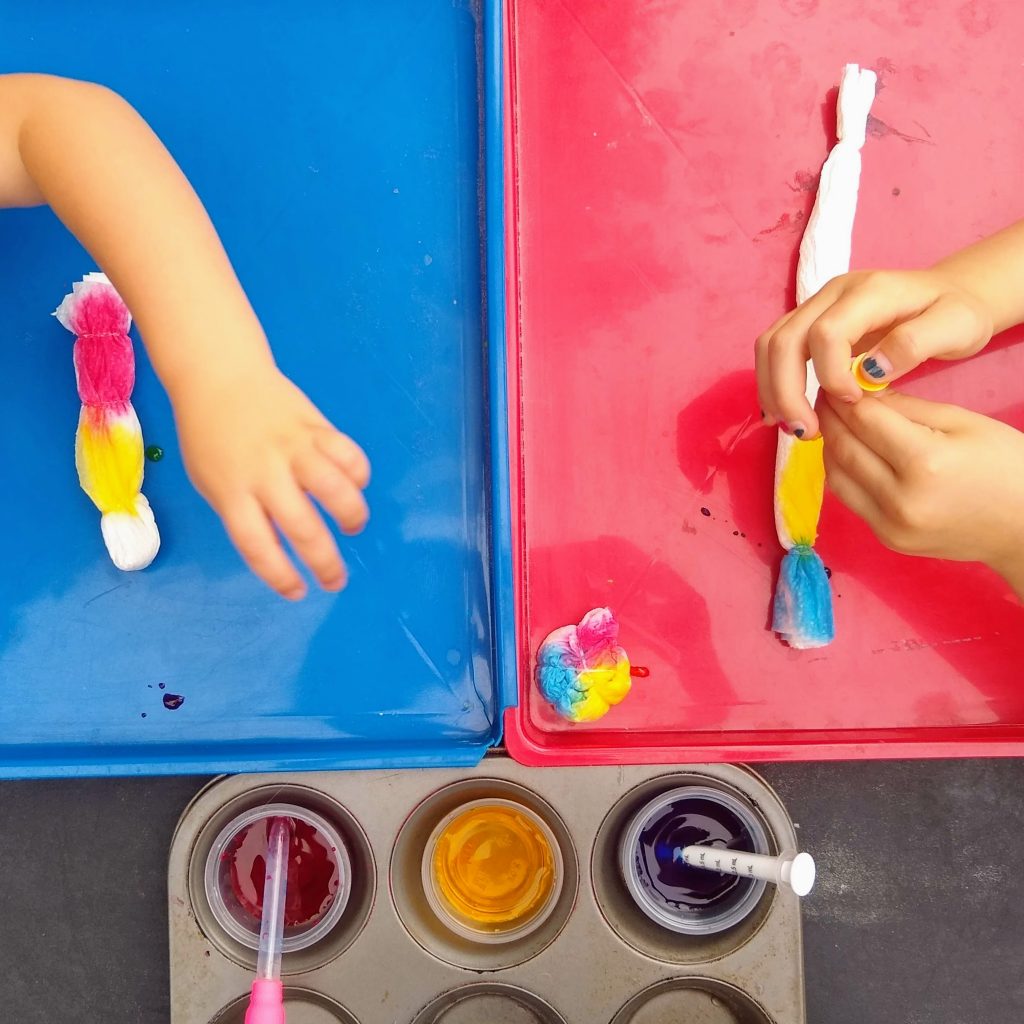
Roll your paper towel into whatever design you want. I did a spiral, while my 2 year old folded his in half, and my 6 year old kept it in a roll and we all just placed our rubber bands wherever we wanted. Before we started squeezing liquid watercolor into different sections, I asked the BIG Question from my EEL guide: “What happens when colors mix?”
The great thing about limiting the color pallete to just the primary colors of red, yellow and blue, is that it allows the kids to see what what happens when colors mix.
To say my kids LOVED this would be an understatement. The conversations they were having as they watched colors mix, shouting to one another to look at their work and see what was taking place made this momma heart melt.
Once their paper towels were soaking and sitting in a sunny spot to dry, we decided to tie-dye the shirts EEL sent for us to make for our Make and Play Craft. My 2 year old was in Heaven.
We used white crayon first to create a resist. Why? Because it’s fun! Kids could have totally made a pattern with their white crayons, but I did not think that far ahead. 🙂
Because the shirts were made out of cardstock and not watercolor paper, you have to be careful about how much liquid watercolor you put on there, or it can tear easily. I had to keep on getting the kids to tilt their trays to let the water run off their shirt so it wouldn’t be so soaked. They used up all the liquid watercolor and begged for more, but it was getting to be lunch time, so I called it quits.
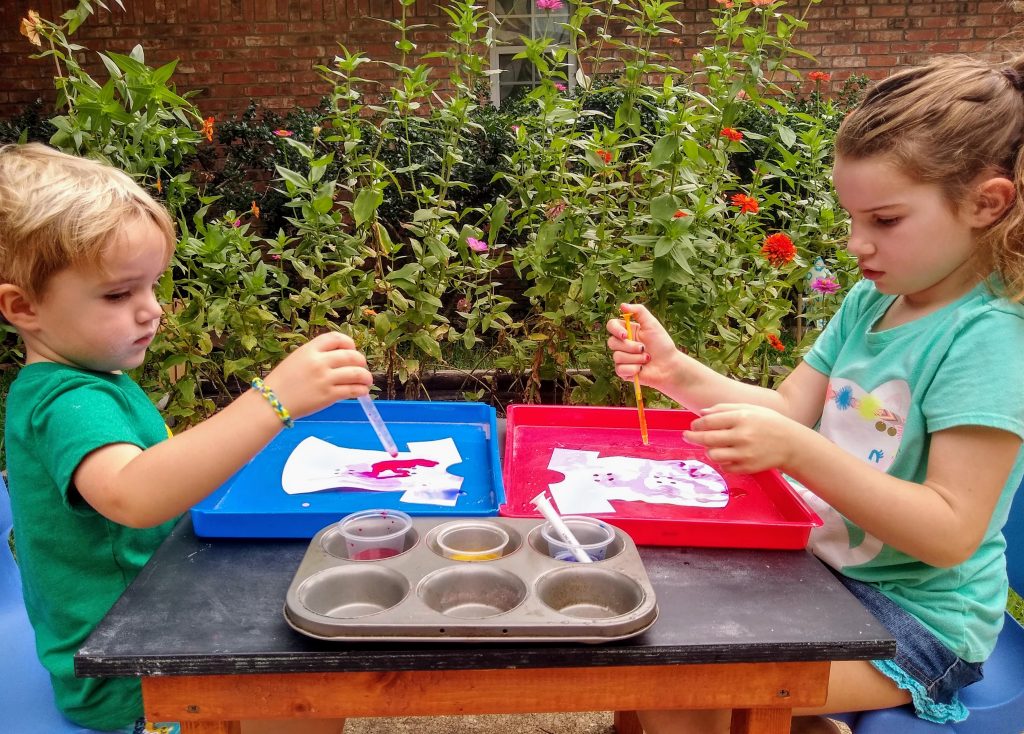
Here is their dried out tie-dye! What do you think?
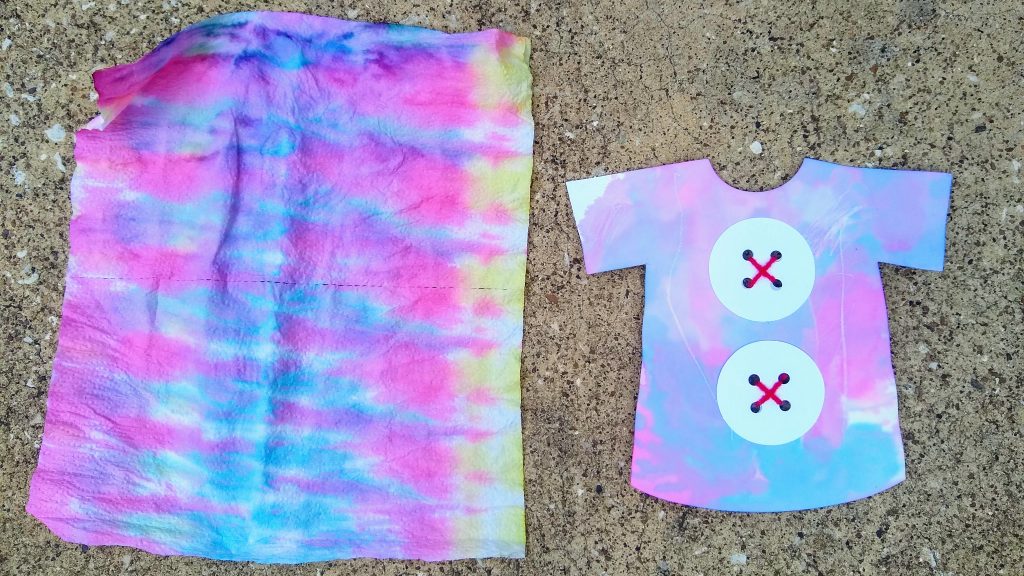
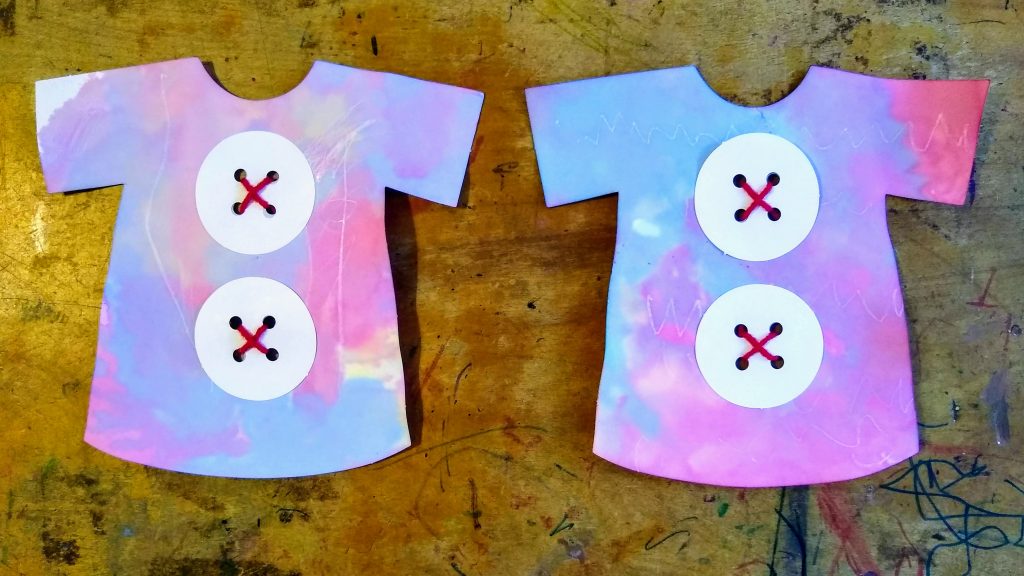
EEL sent us cardstock buttons and yarn for the learners to practice sewing buttons and using those fine motor skills. I am always so impressed with how much my 2 year old is into sewing!
I love how their shirts turned out and all the learning that took place! These will definitely end up in their portfolio of work I keep.
Want to see more of our STEAM Stations during the All About Me theme? Check out these posts:
STEAM: Shadows, Shapes, & Sense of Sight
STEAM: Brain Study with Little Learners
